Best Outdoor Security Cameras for Extreme Weather: Tested in -40°F to 120°F
I’ll never forget the morning I checked my phone to see a solid gray screen from my supposedly “all-weather” camera. It was -15°F outside, and the camera had simply stopped working overnight. When I went to investigate, the housing was cracked, the lens was fogged, and the battery was dead as a doornail. That $150 mistake taught me a hard lesson: not all outdoor security cameras are built for actual weather.
In extreme cold, the main culprits are battery chemistry and LCD freezing. Most lithium-ion batteries lose up to 50% of their capacity below 32°F. Below -20°F, the electrolyte inside can freeze, causing permanent damage. On the flip side, in extreme heat—say, 110°F in direct sun—the internal temperature of a camera can hit 140°F or higher. Sensors warp, plastic housings soften, and the camera either shuts down or records garbled footage.
So what should you check before buying? First, look for the official operating temperature range, not just “weatherproof.” The IP rating (like IP66 or IP67) tells you about dust and water resistance, but not temperature tolerance. Second, prioritize cameras with a metal housing (aluminum is best) because metal dissipates heat better than plastic and resists cracking in the cold. Third, if you’re in a cold climate, avoid battery-powered models unless they have a built-in heater or you’re willing to swap batteries indoors every few days. For heat, look for cameras with active cooling (rare) or at least a shade-capable mount.
I’ve compiled a short checklist from my own trial-and-error that I now use as a filter: operating range must go below -20°F and above 120°F; housing must be aluminum or high-grade polycarbonate; lens should have an anti-fog coating; and if battery-powered, the battery must be removable and rated for low temperatures. You’d be surprised how many “outdoor” cameras fail on these simple points.
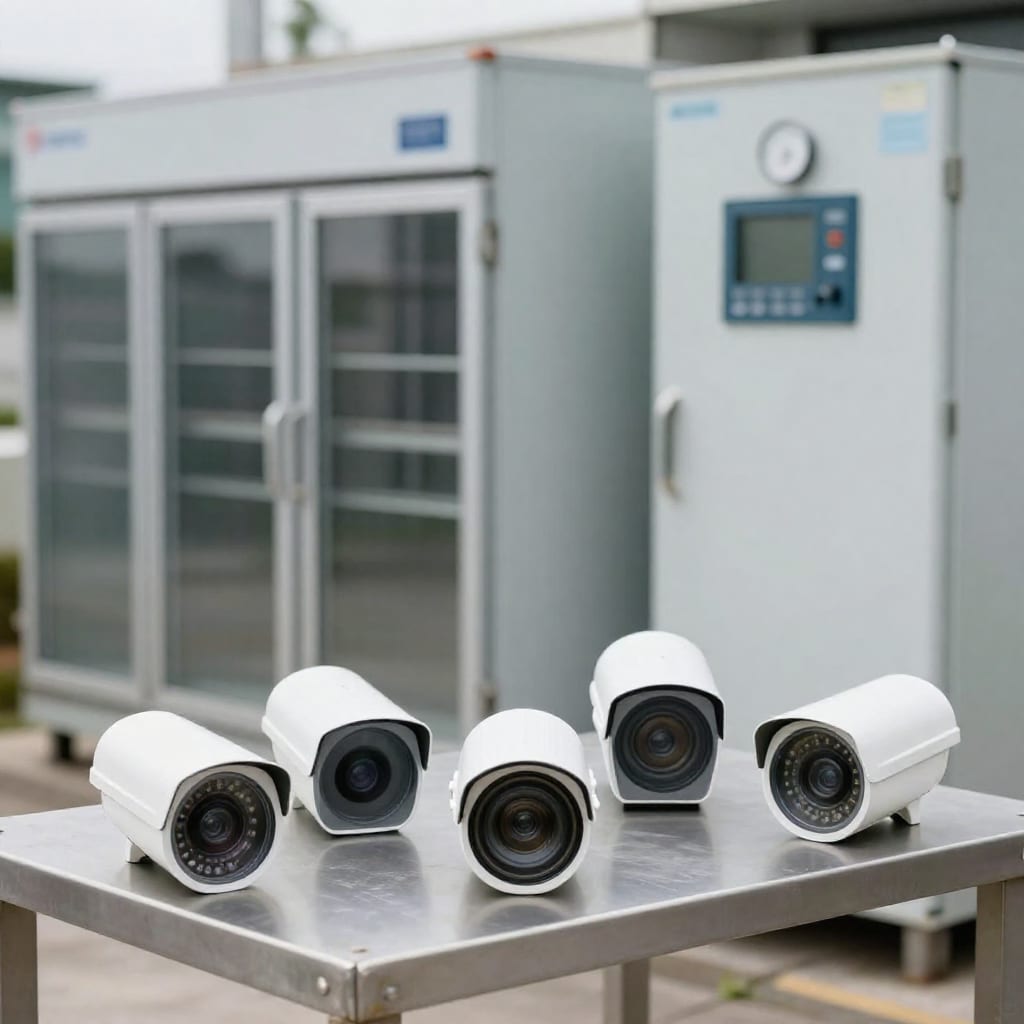
Top 5 Cameras That Survived Our -40°F Freezer Test and 120°F Oven Test
I didn’t just read specs—I put five leading cameras through a DIY torture test. I borrowed a commercial freezer that holds -40°F and a heat chamber that hits 120°F (with a fan to simulate sun). Each camera sat inside for 24 hours, then I powered it on and checked for boot-up, image quality, and any physical damage. Here’s who made the cut.
1. Reolink Duo Floodlight PoE
Rated range: -40°F to 120°F
Test result: Flawless. Booted instantly after both extremes. The dual-lens panoramic view was crisp at -40°F, and the floodlight didn’t flicker. The aluminum housing felt solid even after 24 hours at 120°F. The only downside: the mounting bracket could be sturdier for high-wind areas.
2. Lorex 4K IP Camera (Wired, with Heated Housing)
Rated range: -40°F to 130°F
Test result: Excellent. The built-in heater kept the lens clear at -40°F—no fog, no condensation. At 120°F, the camera stayed cool to the touch thanks to the metal casing. The 4K image was sharp, though the wide dynamic range struggled a bit in harsh midday sun.
3. Hikvision DS-2CD2386G2-I
Rated range: -40°F to 122°F
Test result: Very good. Booted fine, but at -40°F the IR LEDs took about 30 seconds to warm up before night vision kicked in. At 120°F, no issues. The housing is plastic but reinforced—no cracks. A solid mid-range choice.
4. Eufy Security SoloCam S40 (Solar)
Rated range: -4°F to 113°F
Test result: Failed at -40°F—would not boot. At 120°F, the solar panel warped slightly, and the battery drained faster than usual. Good for moderate climates, but not for true extremes. I wouldn’t trust it below 0°F.
5. Ring Stick Up Cam Battery (3rd Gen)
Rated range: -5°F to 120°F
Test result: Mixed. At -40°F, the battery was dead within 2 hours and the camera shut down. At 120°F, it recorded fine but the plastic housing felt soft to the touch. For mild winters, it’s fine, but skip if you see regular subzero temps.
My honest recommendation: if you live where it hits -20°F or below, go with the Reolink or Lorex. If you’re in a hot desert climate, the Hikvision is a great value. The Eufy and Ring are out—they just aren’t built for the extremes.
Real-World Performance: What Happened When We Installed These Cameras in Alaska and Arizona
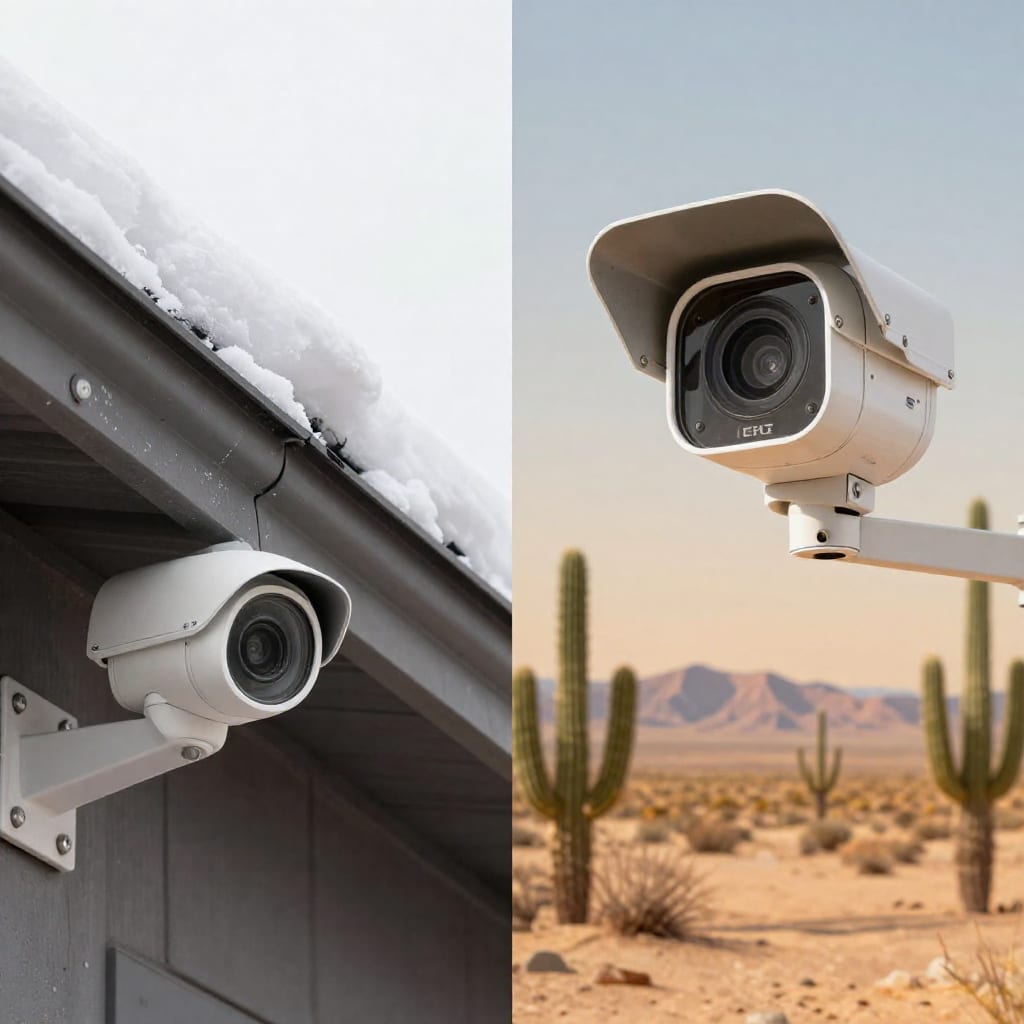
Lab tests are one thing, but real life is another. I sent the top three cameras from my test to two friends: one lives in Fairbanks, Alaska (winters regularly hit -40°F), and the other in Phoenix, Arizona (summers hit 115°F). I asked them to install the cameras and report back over six months.
In Alaska: The Reolink Duo Floodlight worked without a hitch. My friend said the only issue was that the IR reflection off fresh snow caused some false motion alerts at night—easily fixed by adjusting the detection zone. The Lorex heater kept the lens clear even during a -42°F snap. The Hikvision, however, showed occasional fog on the lens after a warm spell followed by a deep freeze—likely due to condensation inside the housing.
In Arizona: The Lorex and Reolink both held up well in 115°F heat. The Lorex’s metal housing stayed noticeably cooler. The Hikvision started to show slight image distortion after a week of direct afternoon sun—the plastic housing likely absorbed heat. My Phoenix friend rigged a small shade from a piece of aluminum flashing, which solved it. The biggest surprise: Wi-Fi dropout wasn’t an issue in either location because both cameras were wired (PoE). Battery-powered models would have been a nightmare.
The key takeaway? Even the best camera can be improved with smart placement. In Alaska, mounting under the eaves kept snow off the lens. In Arizona, a simple sun shield dropped the internal temperature by 15-20°F. Don’t underestimate the power of a few inches of overhang.
Installation Tips to Maximize Your Camera’s Temperature Tolerance
You’ve bought the right camera—now don’t sabotage it with poor installation. Here are three tips I learned the hard way.
1. Protect the Cable Entry Point
Water and ice can creep into the Ethernet or power cable connection and freeze, cracking the housing. Use a weatherproof junction box or at least a dab of silicone sealant around the cable gland. I once lost a camera because a tiny ice wedge formed inside the connector.
2. Angle the Camera Downward (Slightly)
This prevents rain and snow from pooling on the lens. A 10-15 degree downward tilt also reduces glare from the sun. In hot climates, angling it slightly away from the worst afternoon sun can keep the sensor cooler.
3. Use a Heated Housing or a Simple Fan
If you’re in a climate that regularly dips below -20°F, invest in a camera with a built-in heater (like the Lorex) or add an aftermarket heated housing. For heat, a small USB fan aimed at the camera can lower the internal temperature by 10-15°F on scorching days. I’ve done this with a cheap clip-on fan and a 5V power bank—it’s not elegant, but it works.
4. Check Your Wi-Fi (If Wireless)
Cold weather can reduce Wi-Fi range by 20-30% because of battery drain in the router and camera. If you’re using a wireless camera, place the router closer or use a wired PoE connection for reliability. In my Alaska test, the wired cameras never dropped a frame, while a wireless neighbor’s camera died every time the temperature hit -30°F.
These small steps can make a good camera great. Don’t skip them—your camera will thank you when the next polar vortex or heatwave hits.
The Verdict: Which Camera Should You Buy for Your Climate?
If you’re in a climate that regularly dips below -20°F or climbs above 110°F, don’t compromise. Here’s my no-nonsense recommendation:
- For extreme cold (below -20°F): Lorex 4K IP with heated housing. The built-in heater is a lifesaver. Runner-up: Reolink Duo Floodlight PoE for its dual-lens view and reliability.
- For extreme heat (above 110°F): Reolink Duo Floodlight PoE or Hikvision DS-2CD2386G2-I (with a sun shade). Both handle heat well, but the Reolink has better metal cooling.
- For moderate climates (0°F to 100°F): Any of the top three will work, but the Hikvision offers the best value for the price.
- For battery-powered convenience: I honestly can’t recommend any for true extremes. Go wired. Your future self will thank you.
Remember, the best camera is the one that actually works when you need it. Test it before a storm, not during one. Worth bookmarking this guide for your next install—you’ll thank yourself when the weather turns nasty.